Gift Packaging is one of BIG WASTE culprits during the holiday season. Itʻs estimated that we use more than 4.6 million pounds of paper in the US alone! And sadly – most wrapping materials are not recyclable or compostable…
An easy solution is to [1] Use what you have or [2] Purchase compostable paper
– – and if you need a GIFT BAG, make your own!
I found an easy tutorial several years ago, and it has made my gift-wrapping SO MUCH EASIER. Iʻve used it to package cookies (shown here) and to wrap awkward-shaped items. Keep scrolling for the simple steps!
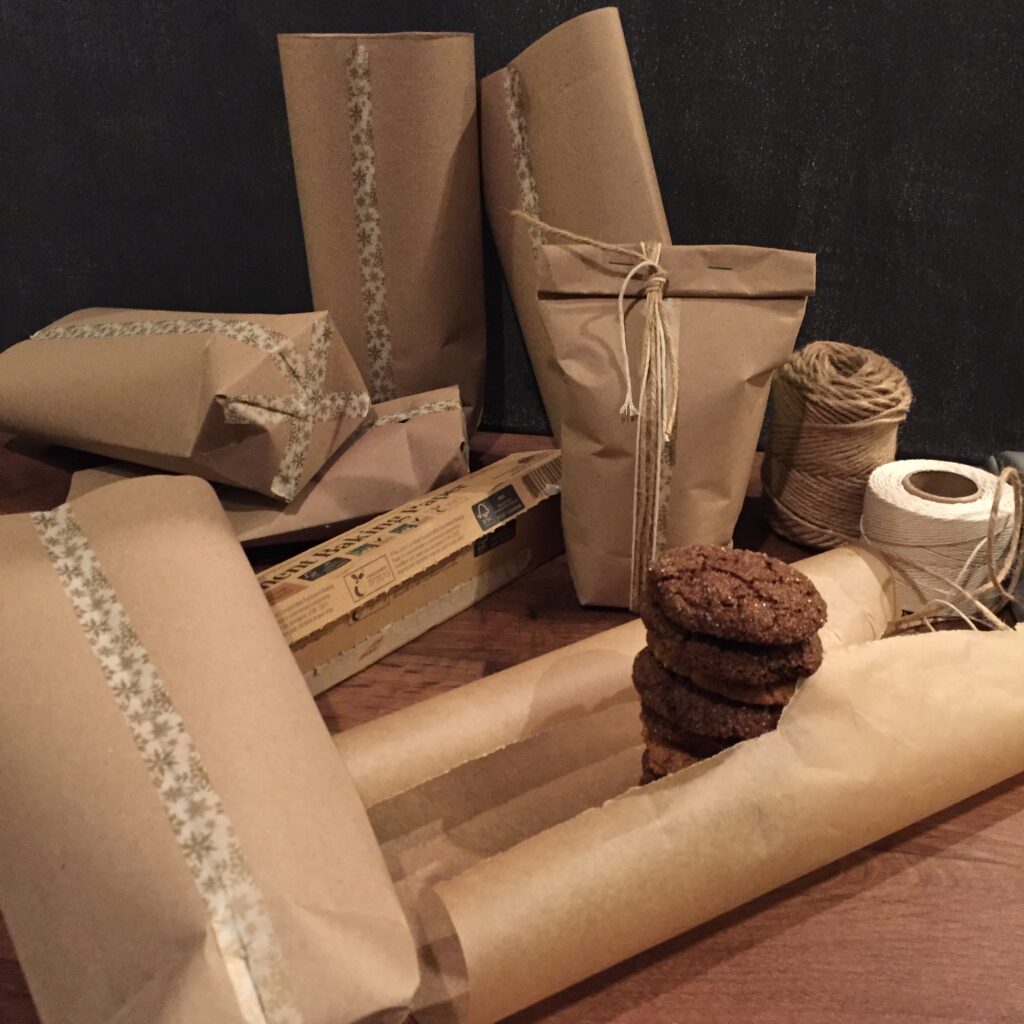
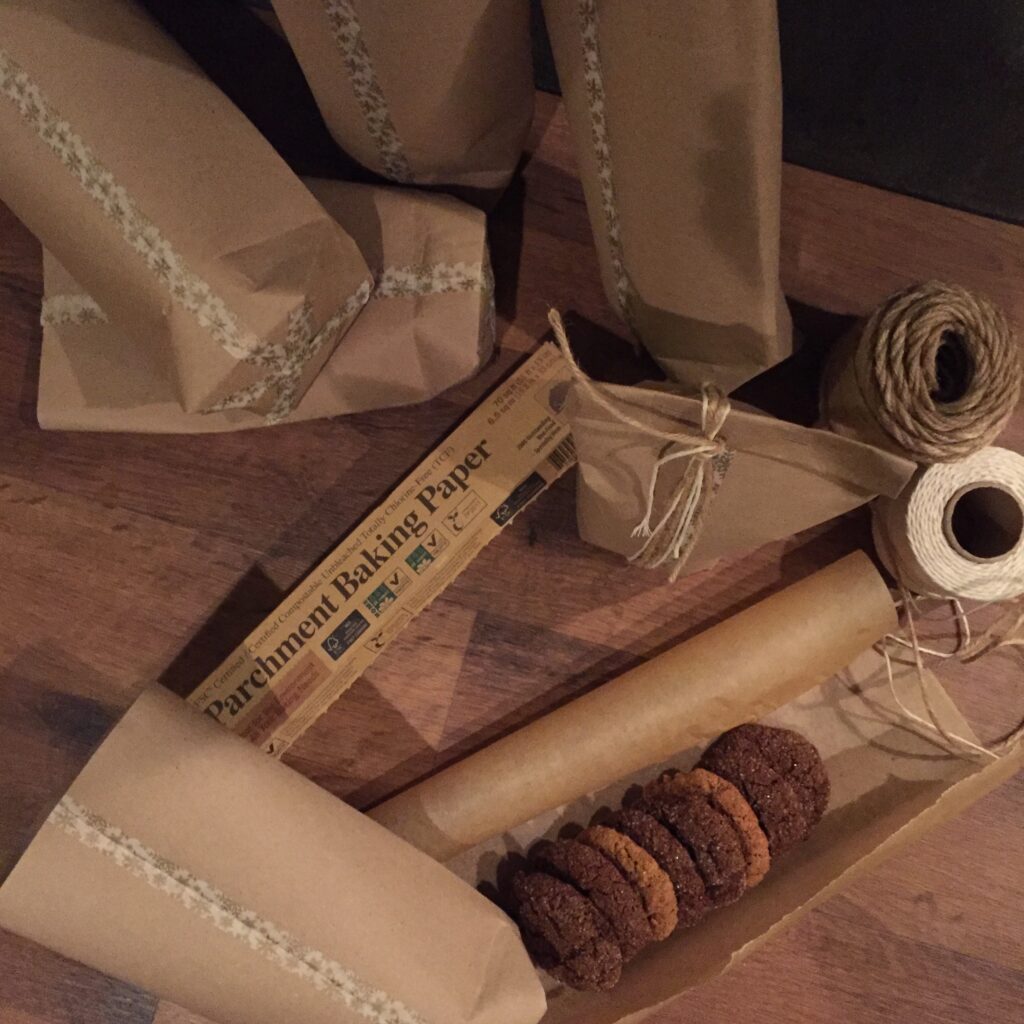
All you need for this project is paper of your choice (I used brown paint-cover paper from Home Depot – a huge roll that Iʻve used for years now!), tape (I like washi tape), string or ribbon, a stapler or hole punch, and any needed internal packaging – like the parchment paper pictured that I used to wrap my cookie inside the bag.
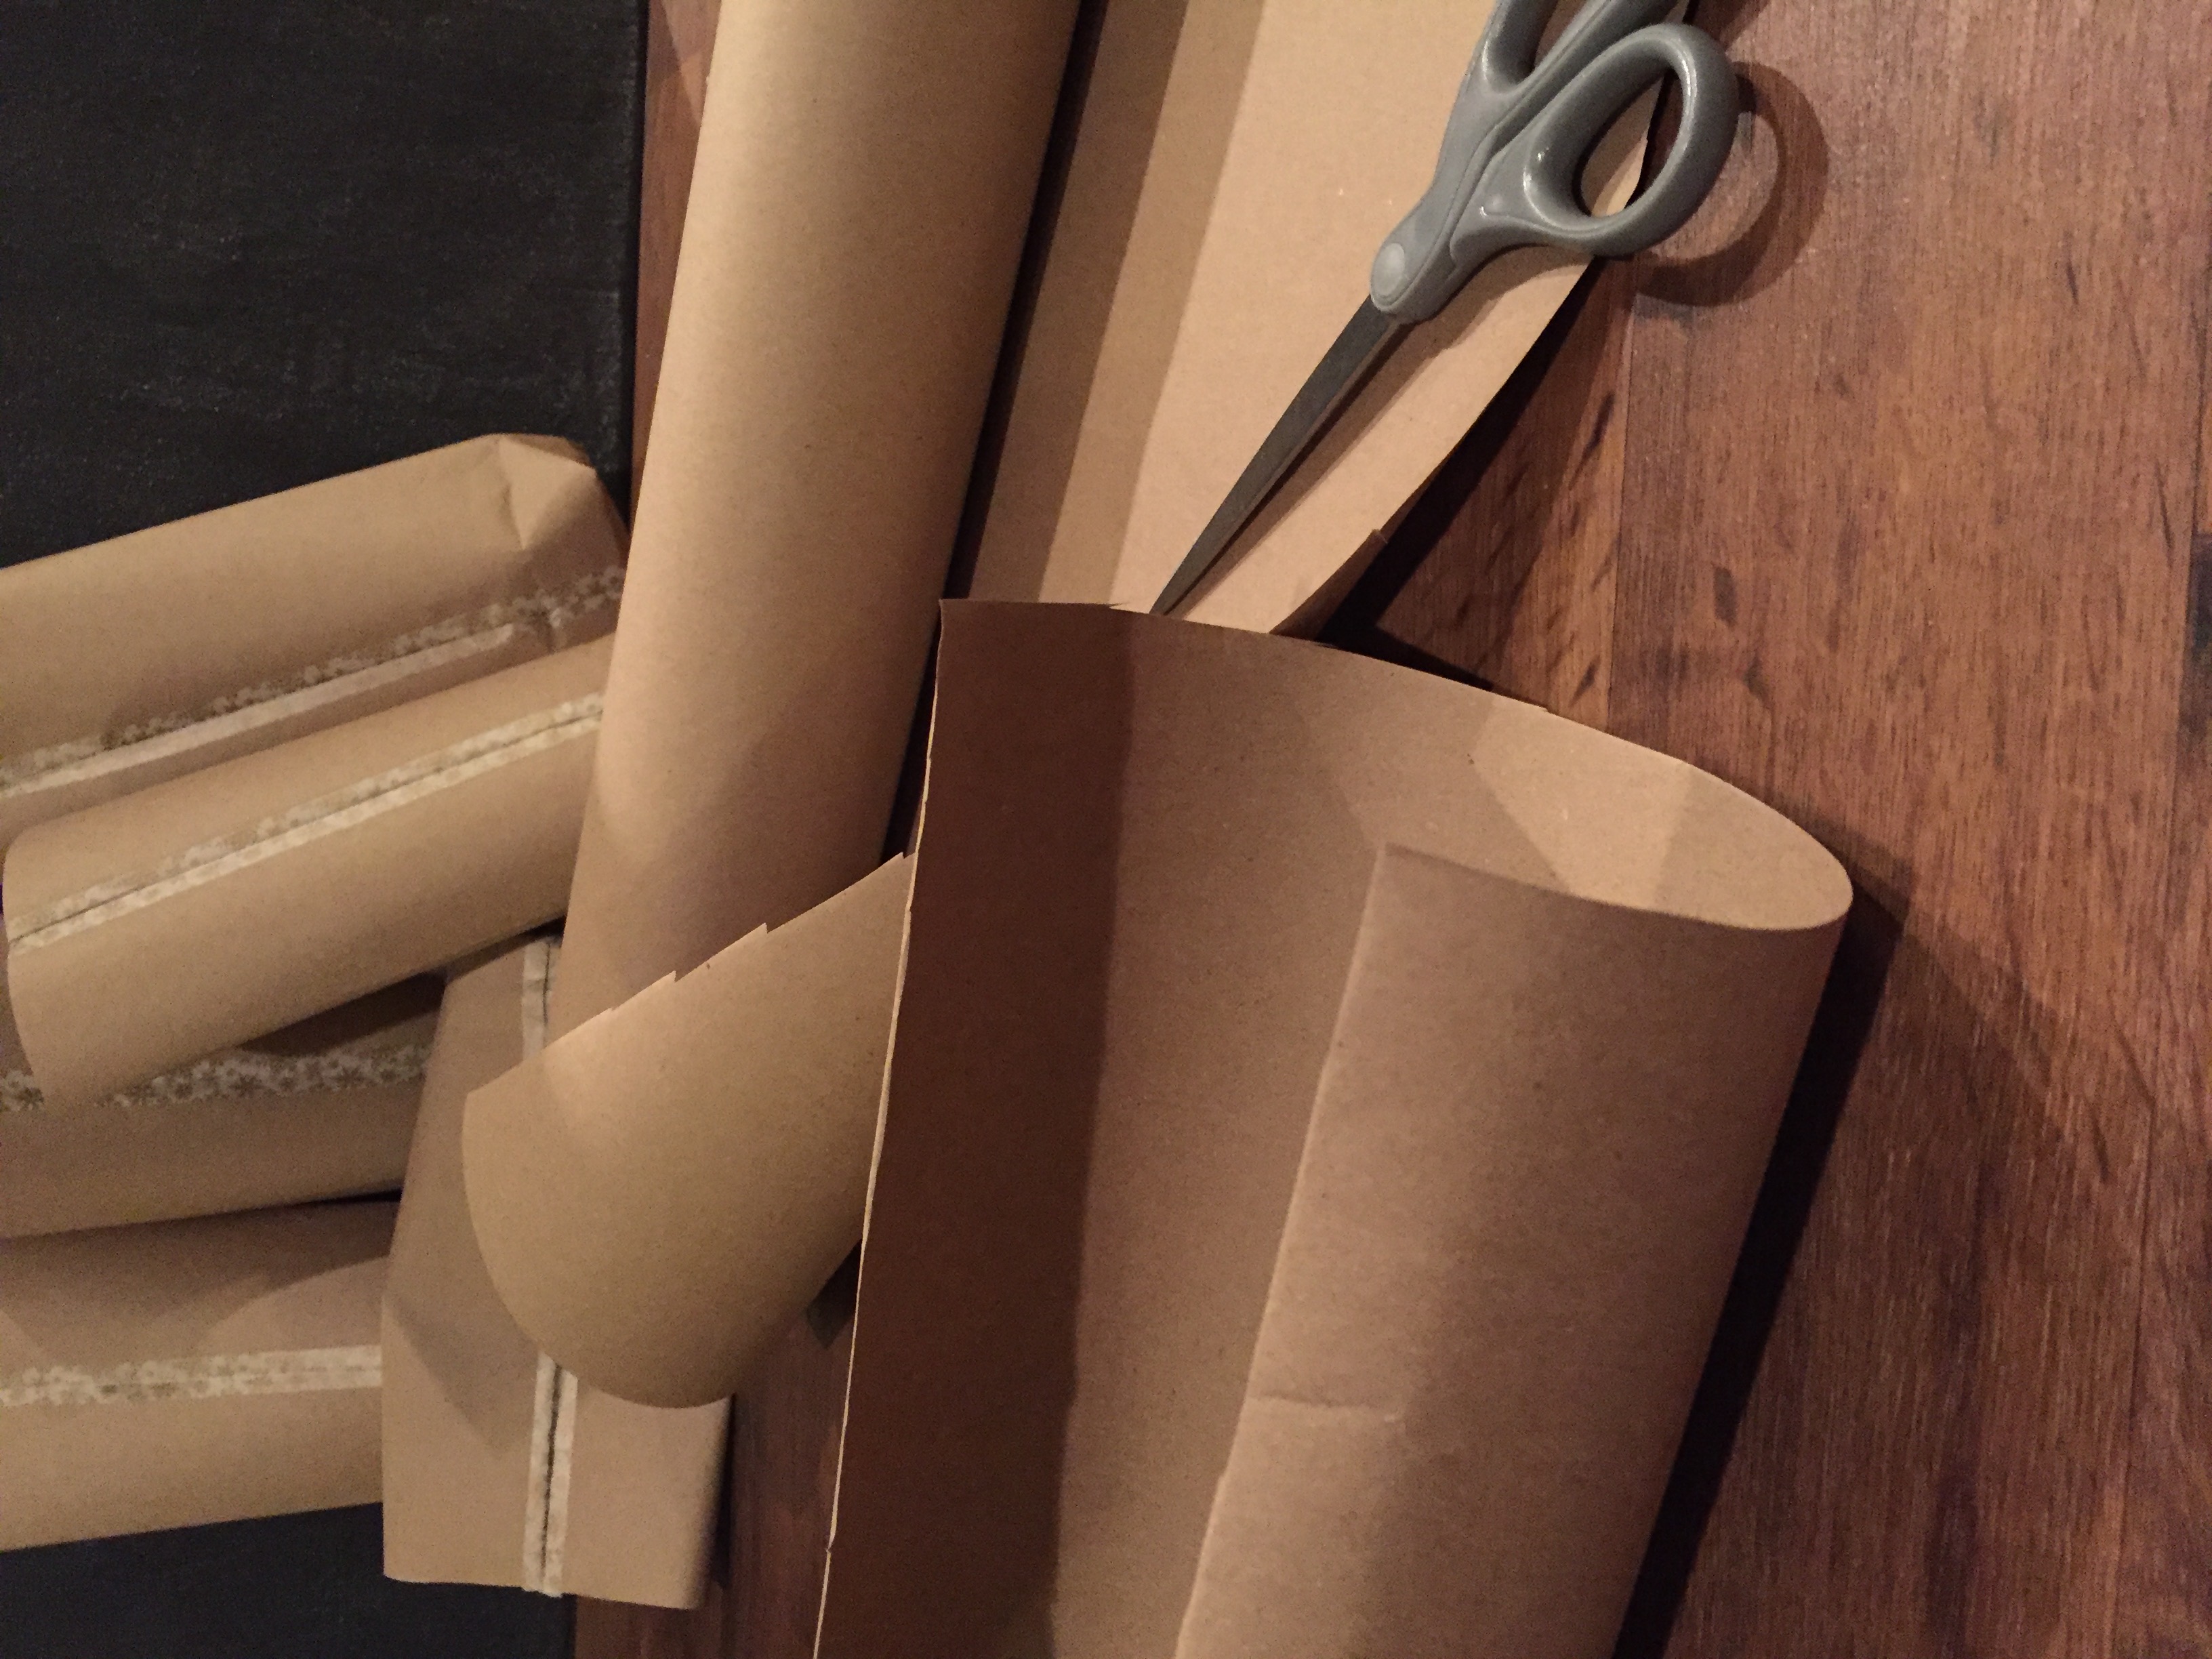
STEP 1:
Determine the width of paper needed for the broadest part of the item you are gifting. Cut a little more generously than you think you need (I learned this the hard way!).
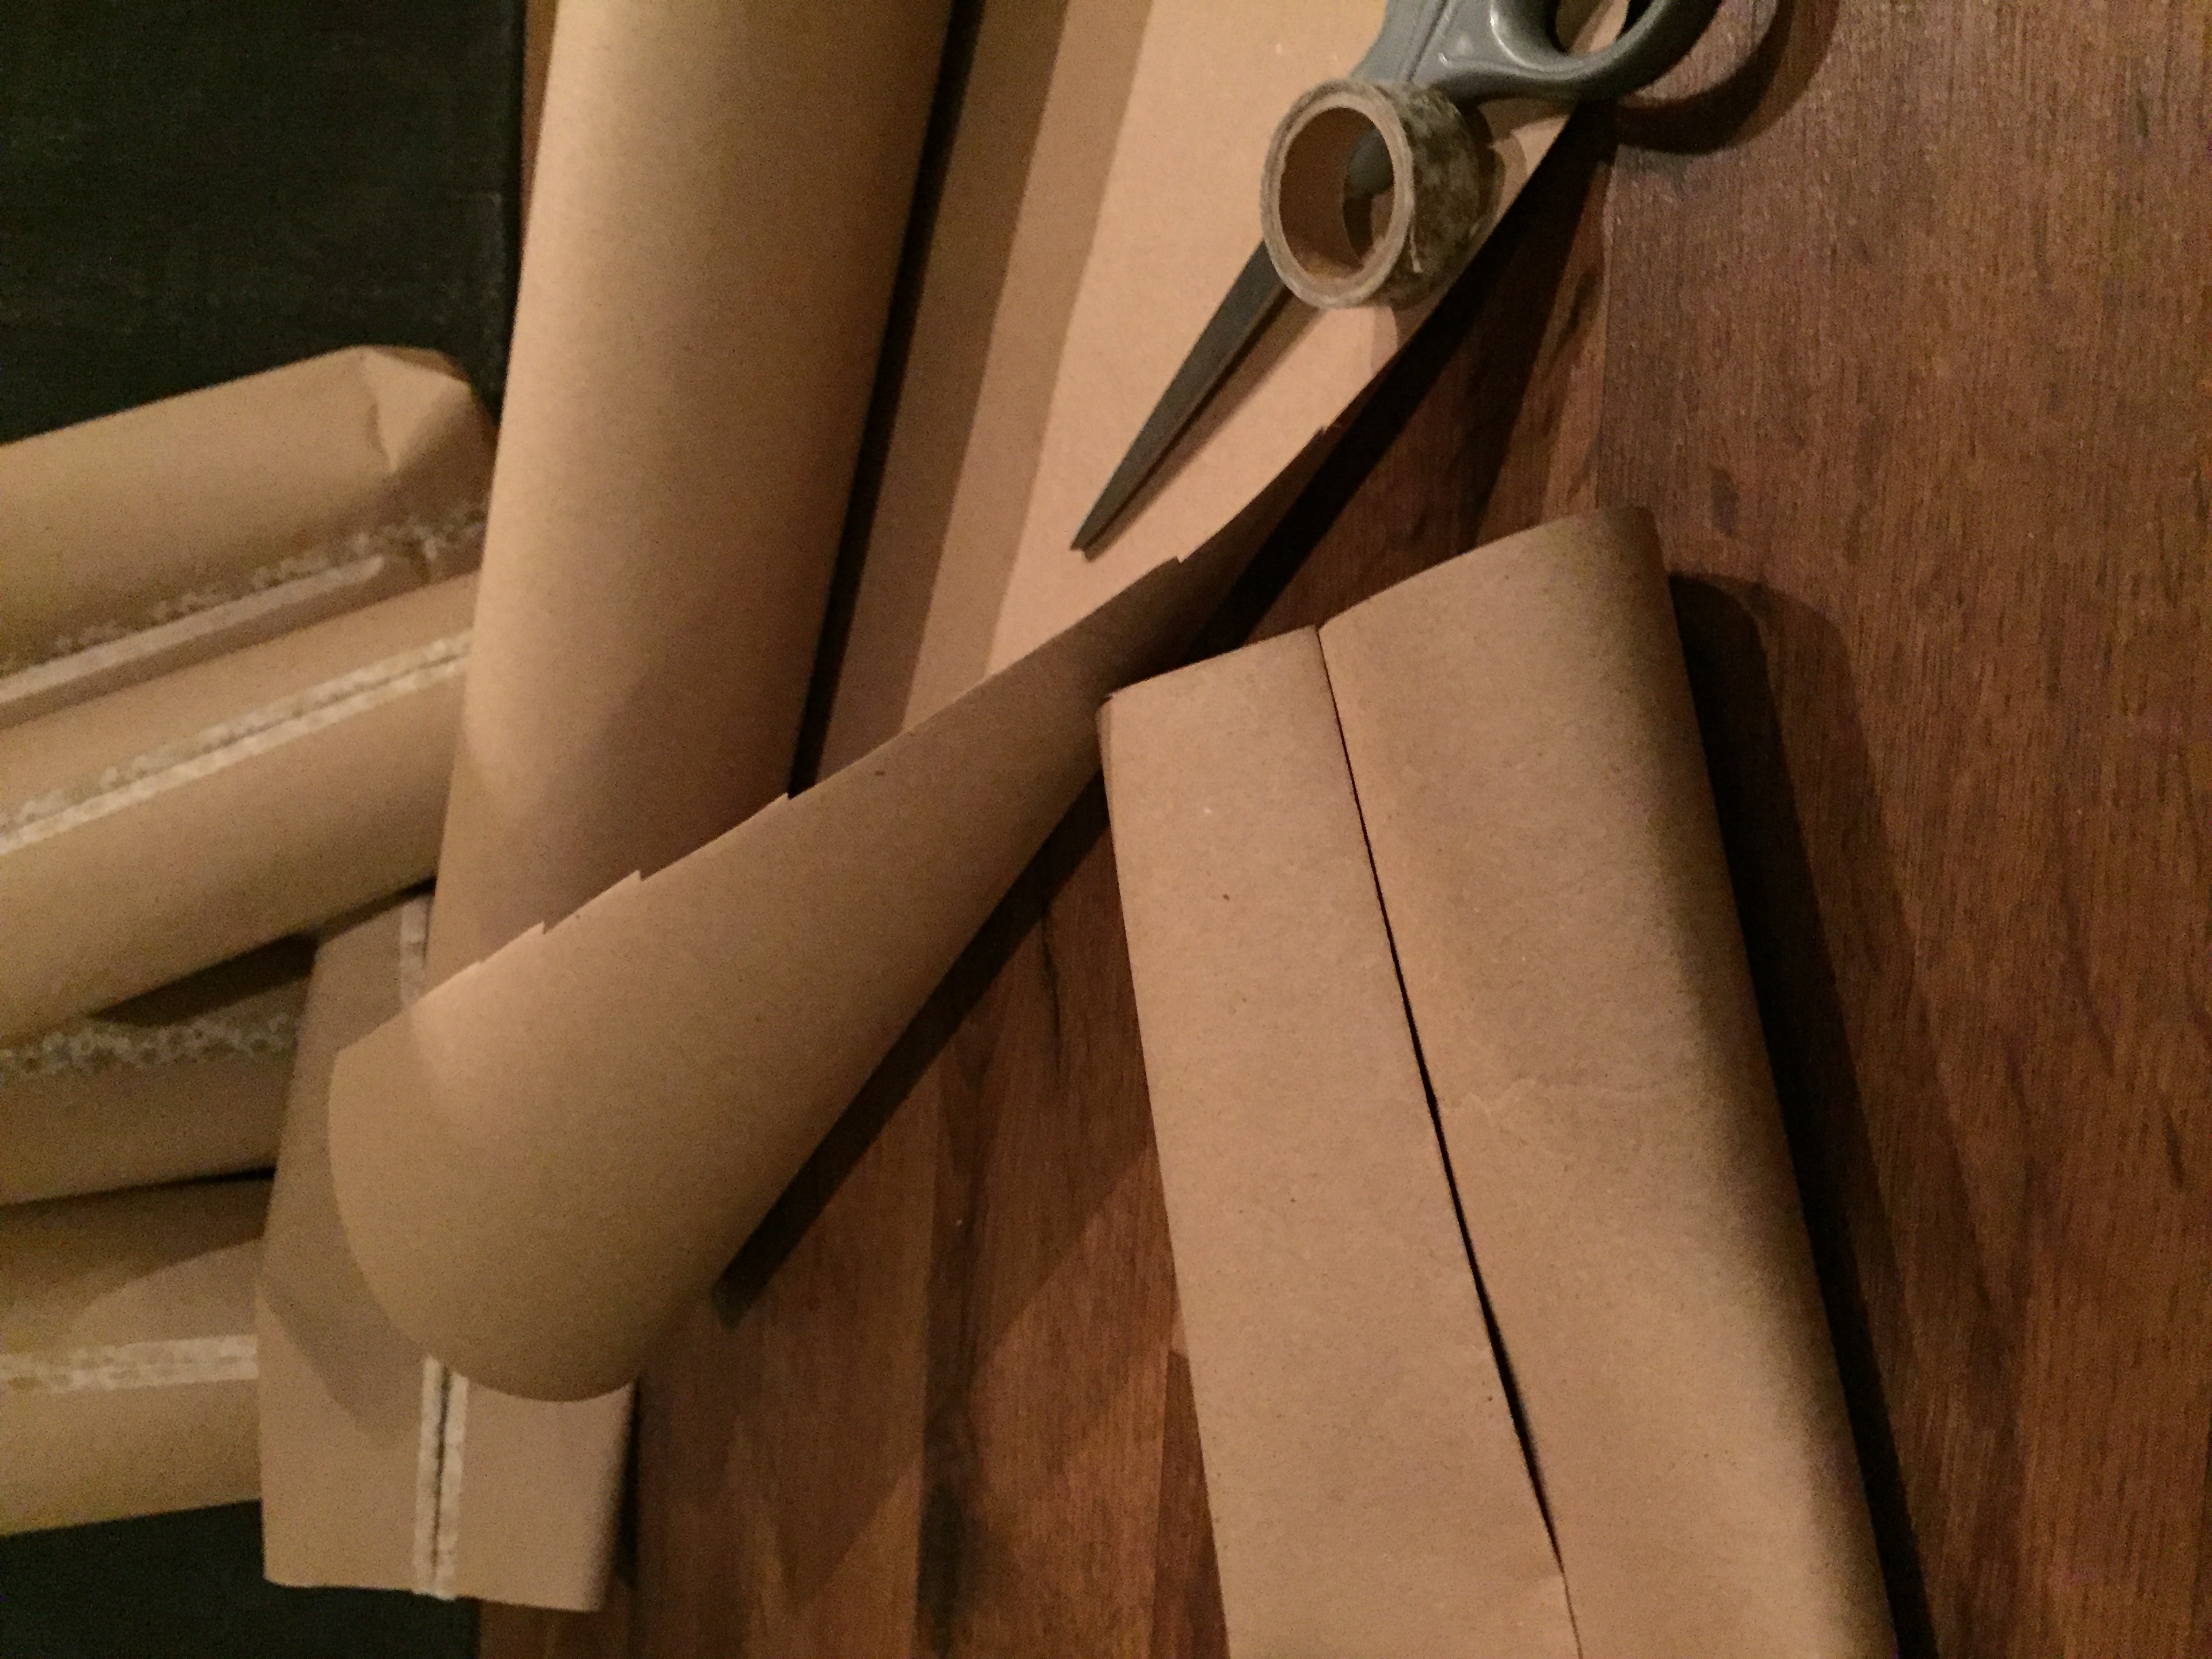
STEP 2:
Find the center of your paper and fold each side towards the center until the two side edges overlap slightly in the middle.
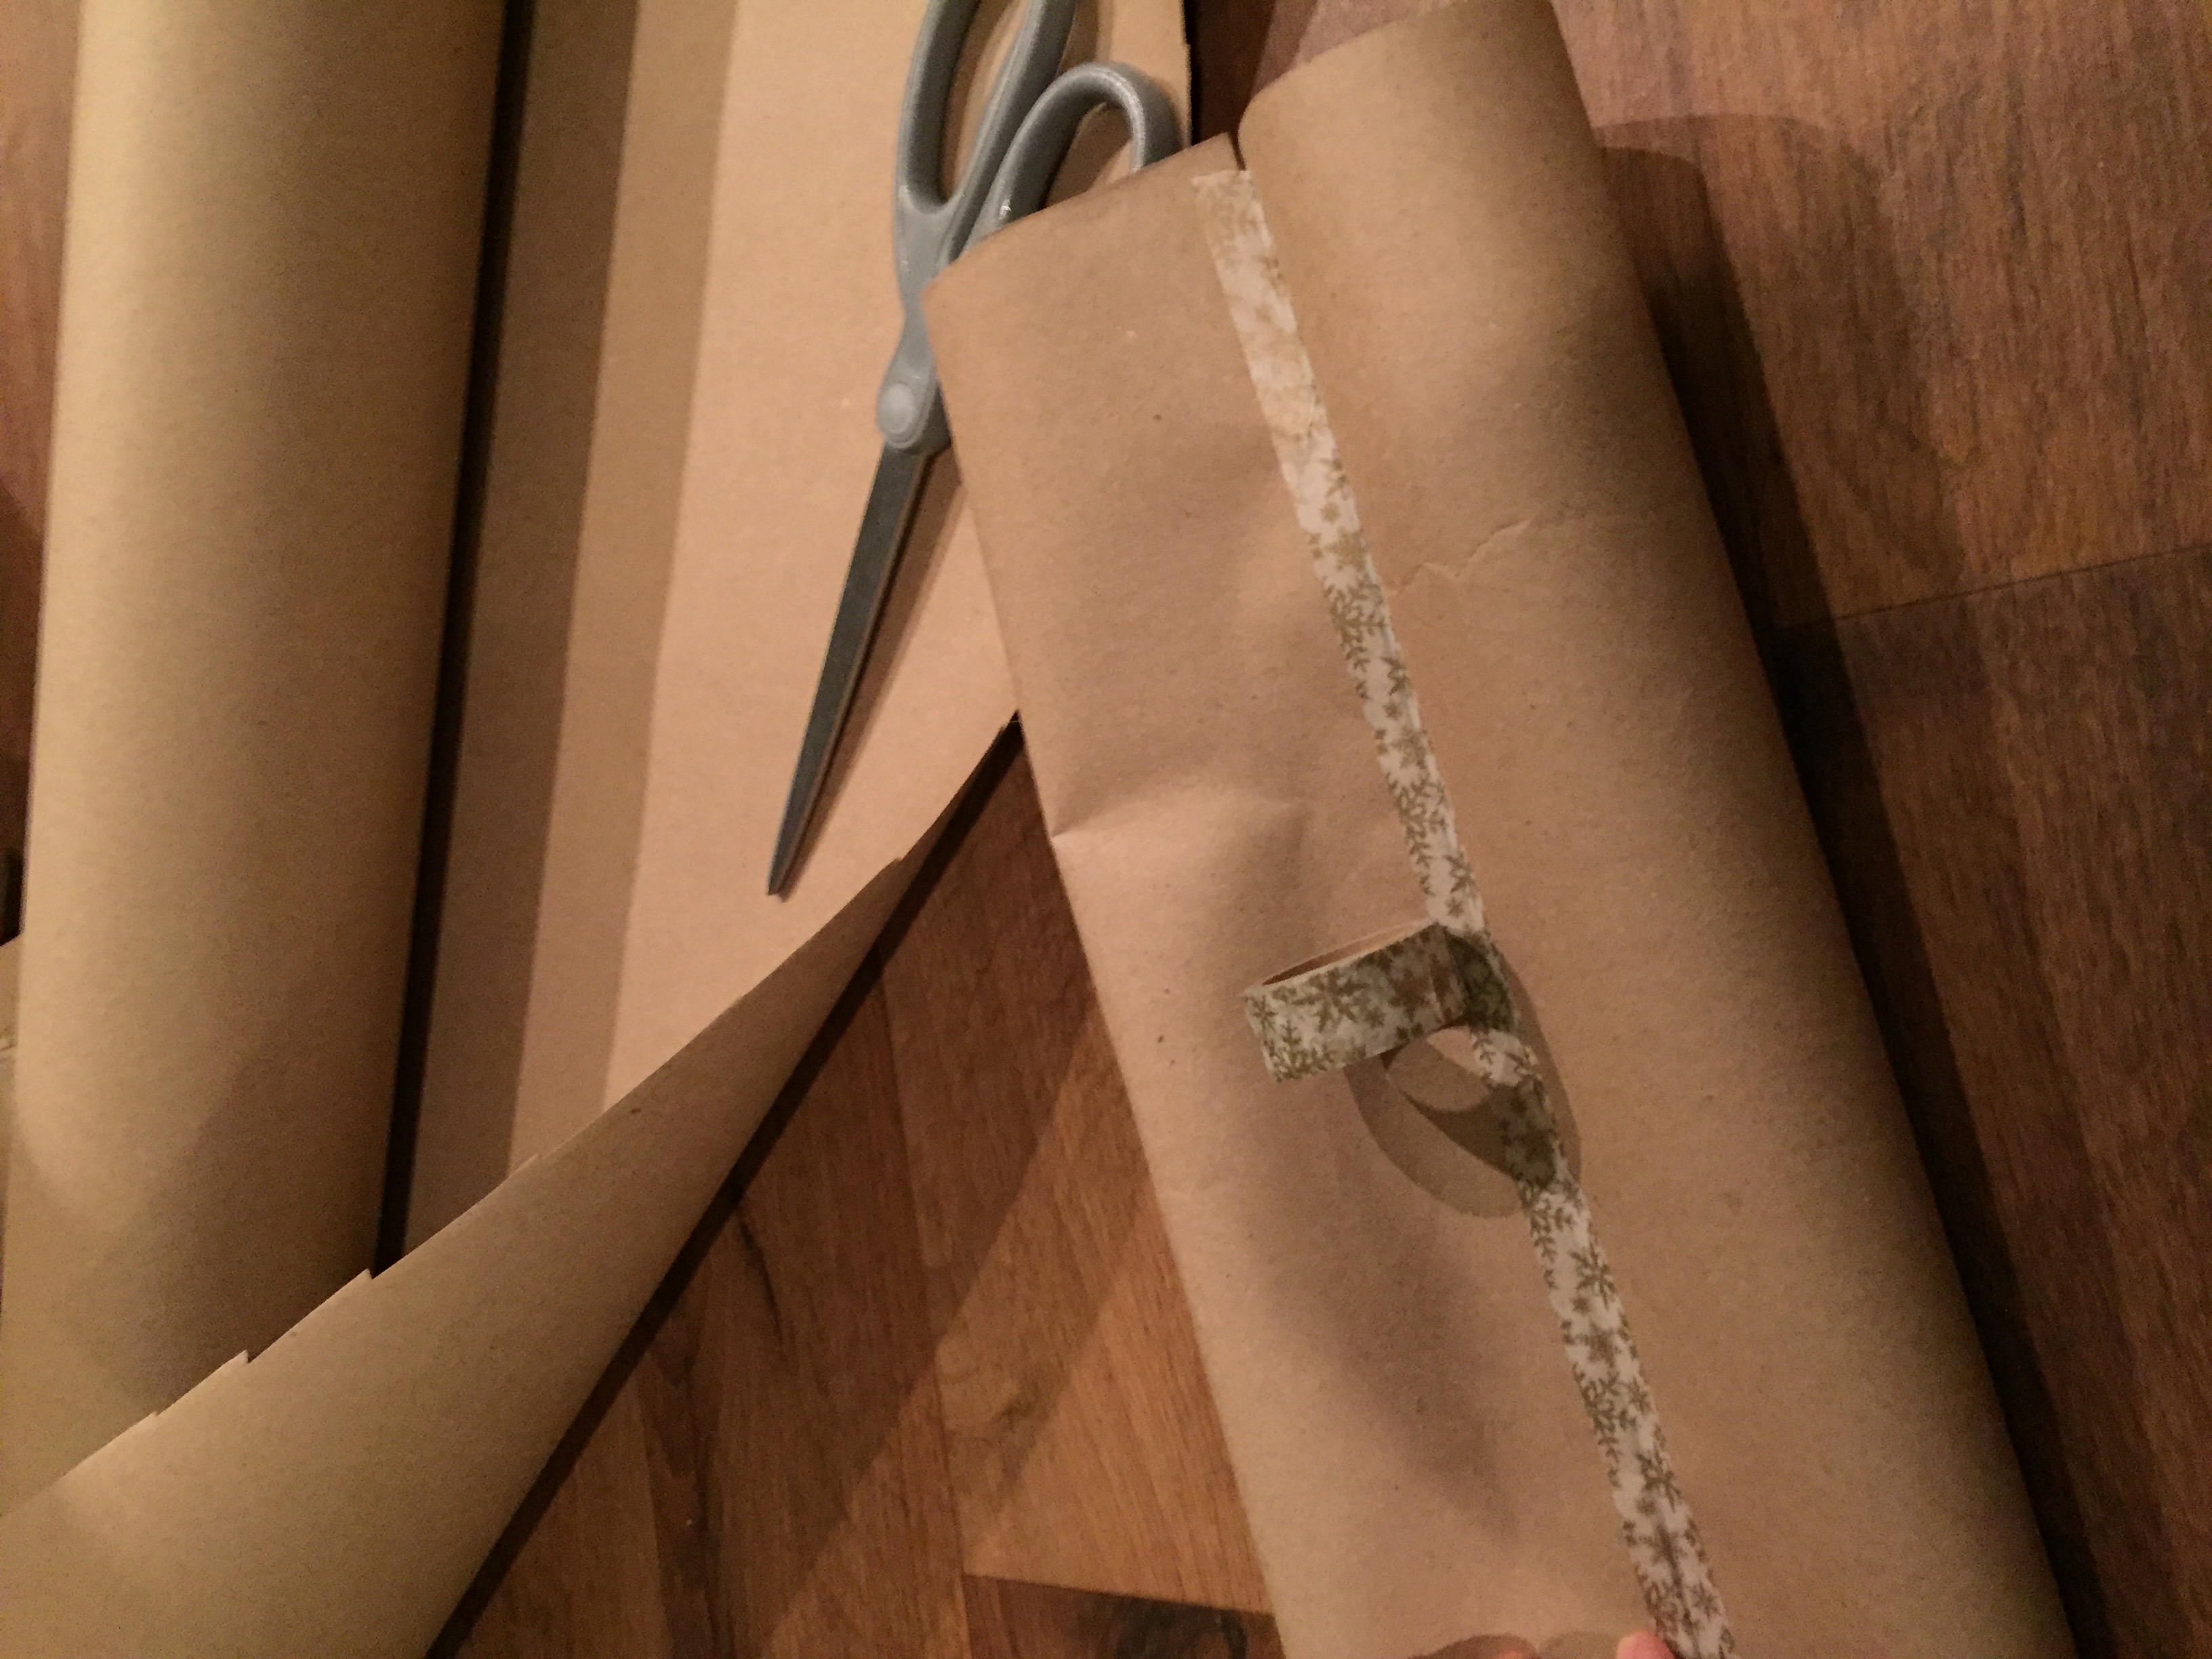
STEP 3:
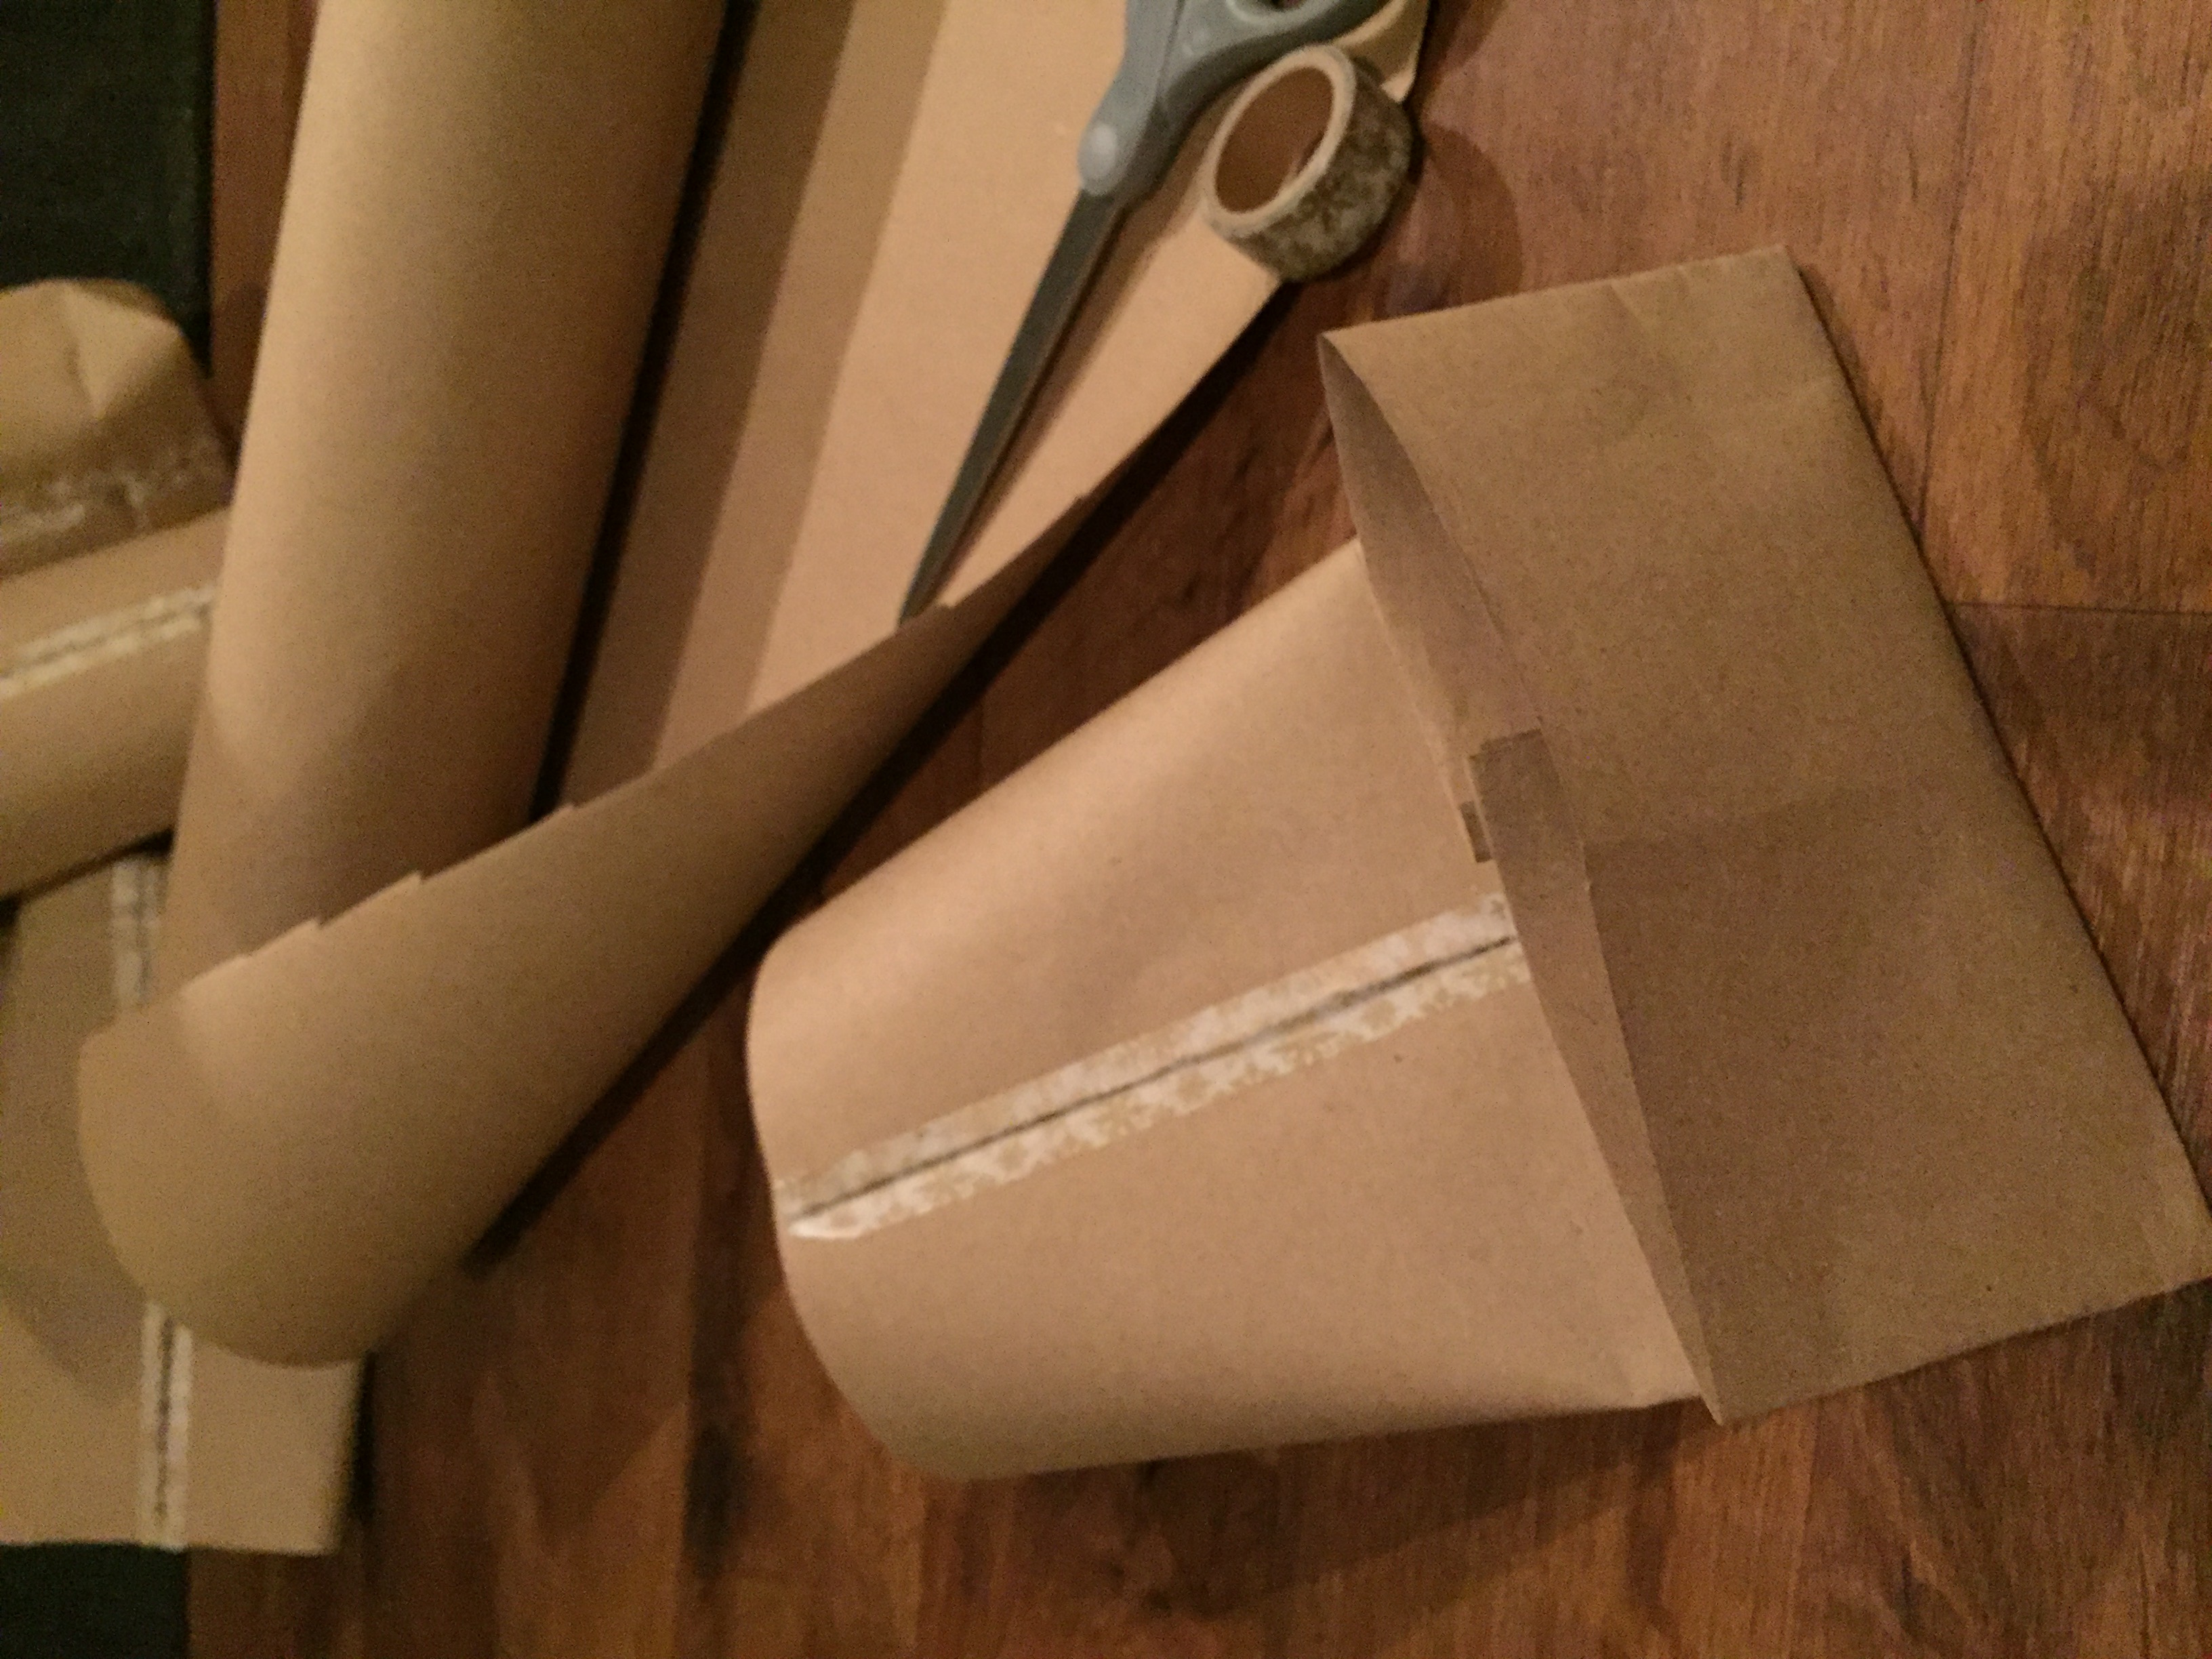
Use your tape (glue would also work!) to seal the seam. You should have created a “tube” of paper.
STEP 4:
I think determining the appropriate size for the bagʻs base is the most difficult step. Measure the base of the item you are gifting (the part that will rest in the bottom of the bag), and folda bit more than that length up from the bottom of your paper tube.
STEP 5:
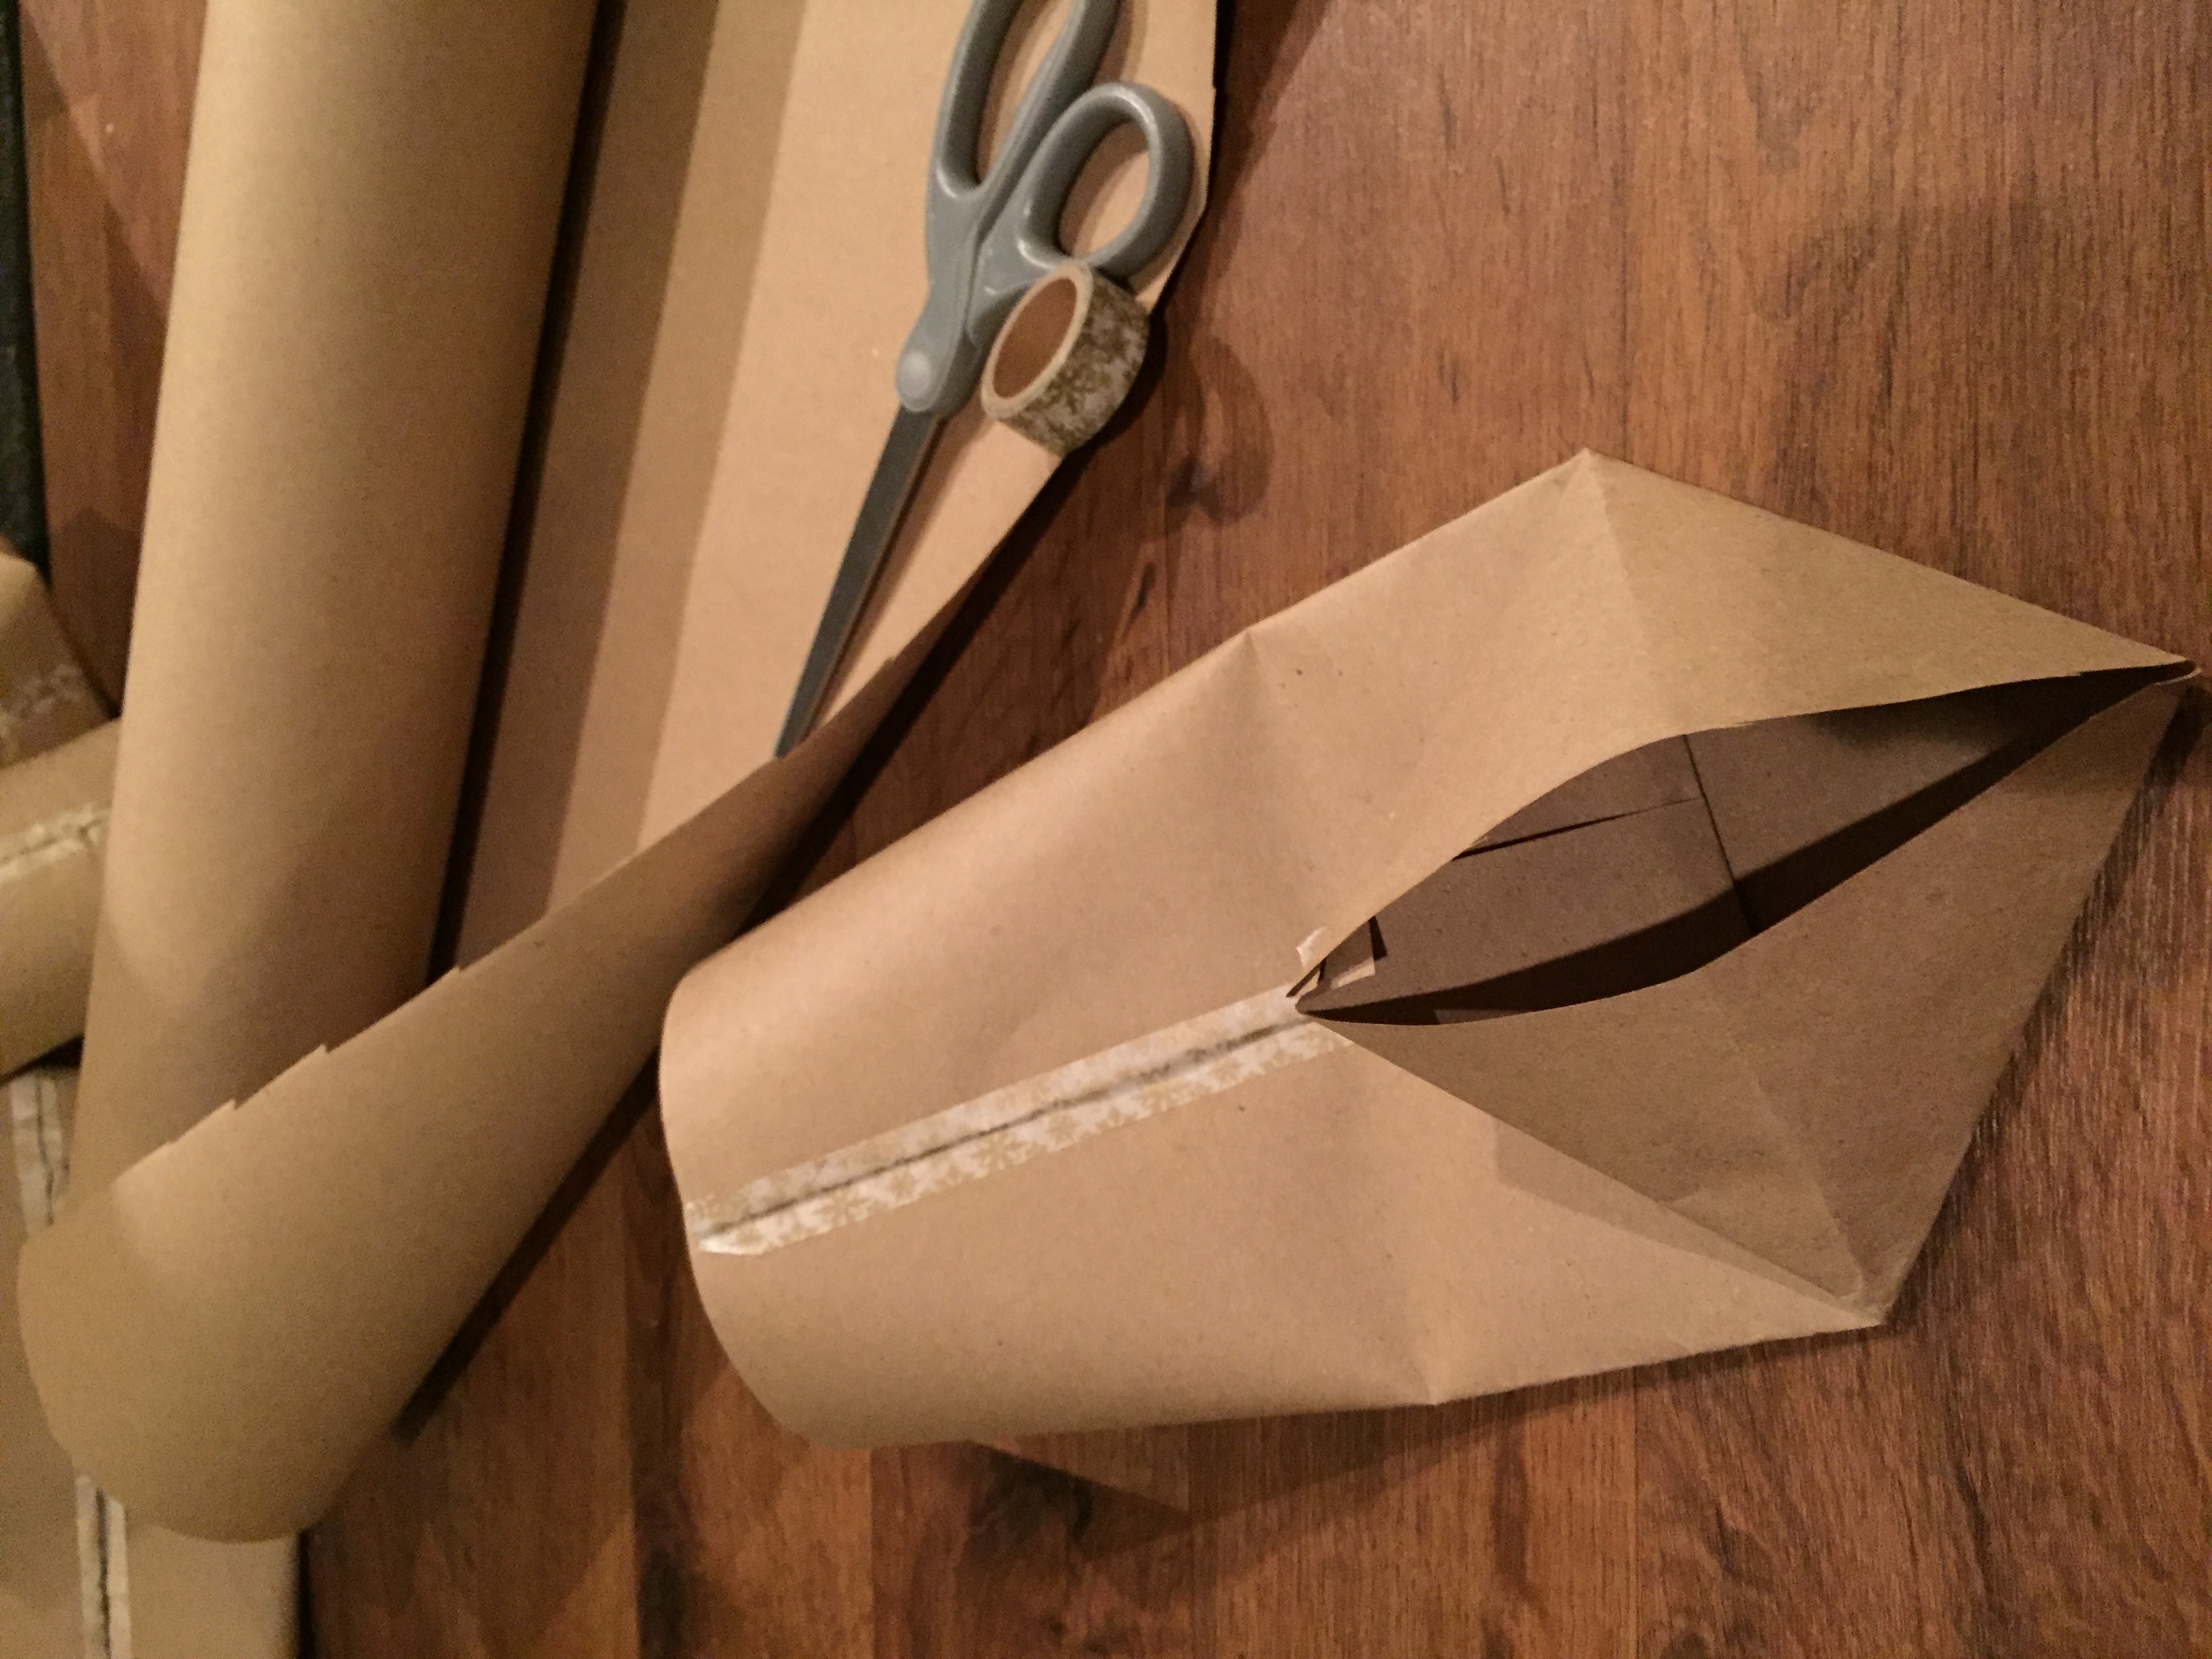
Keeping the last fold creased, press each corner of the open end in towards the middle. Make sure the same side that overlapped when you taped the long seam overlaps here as well. You should have a diamond shape, with a long horizontal seam down the middle.
STEP 6:
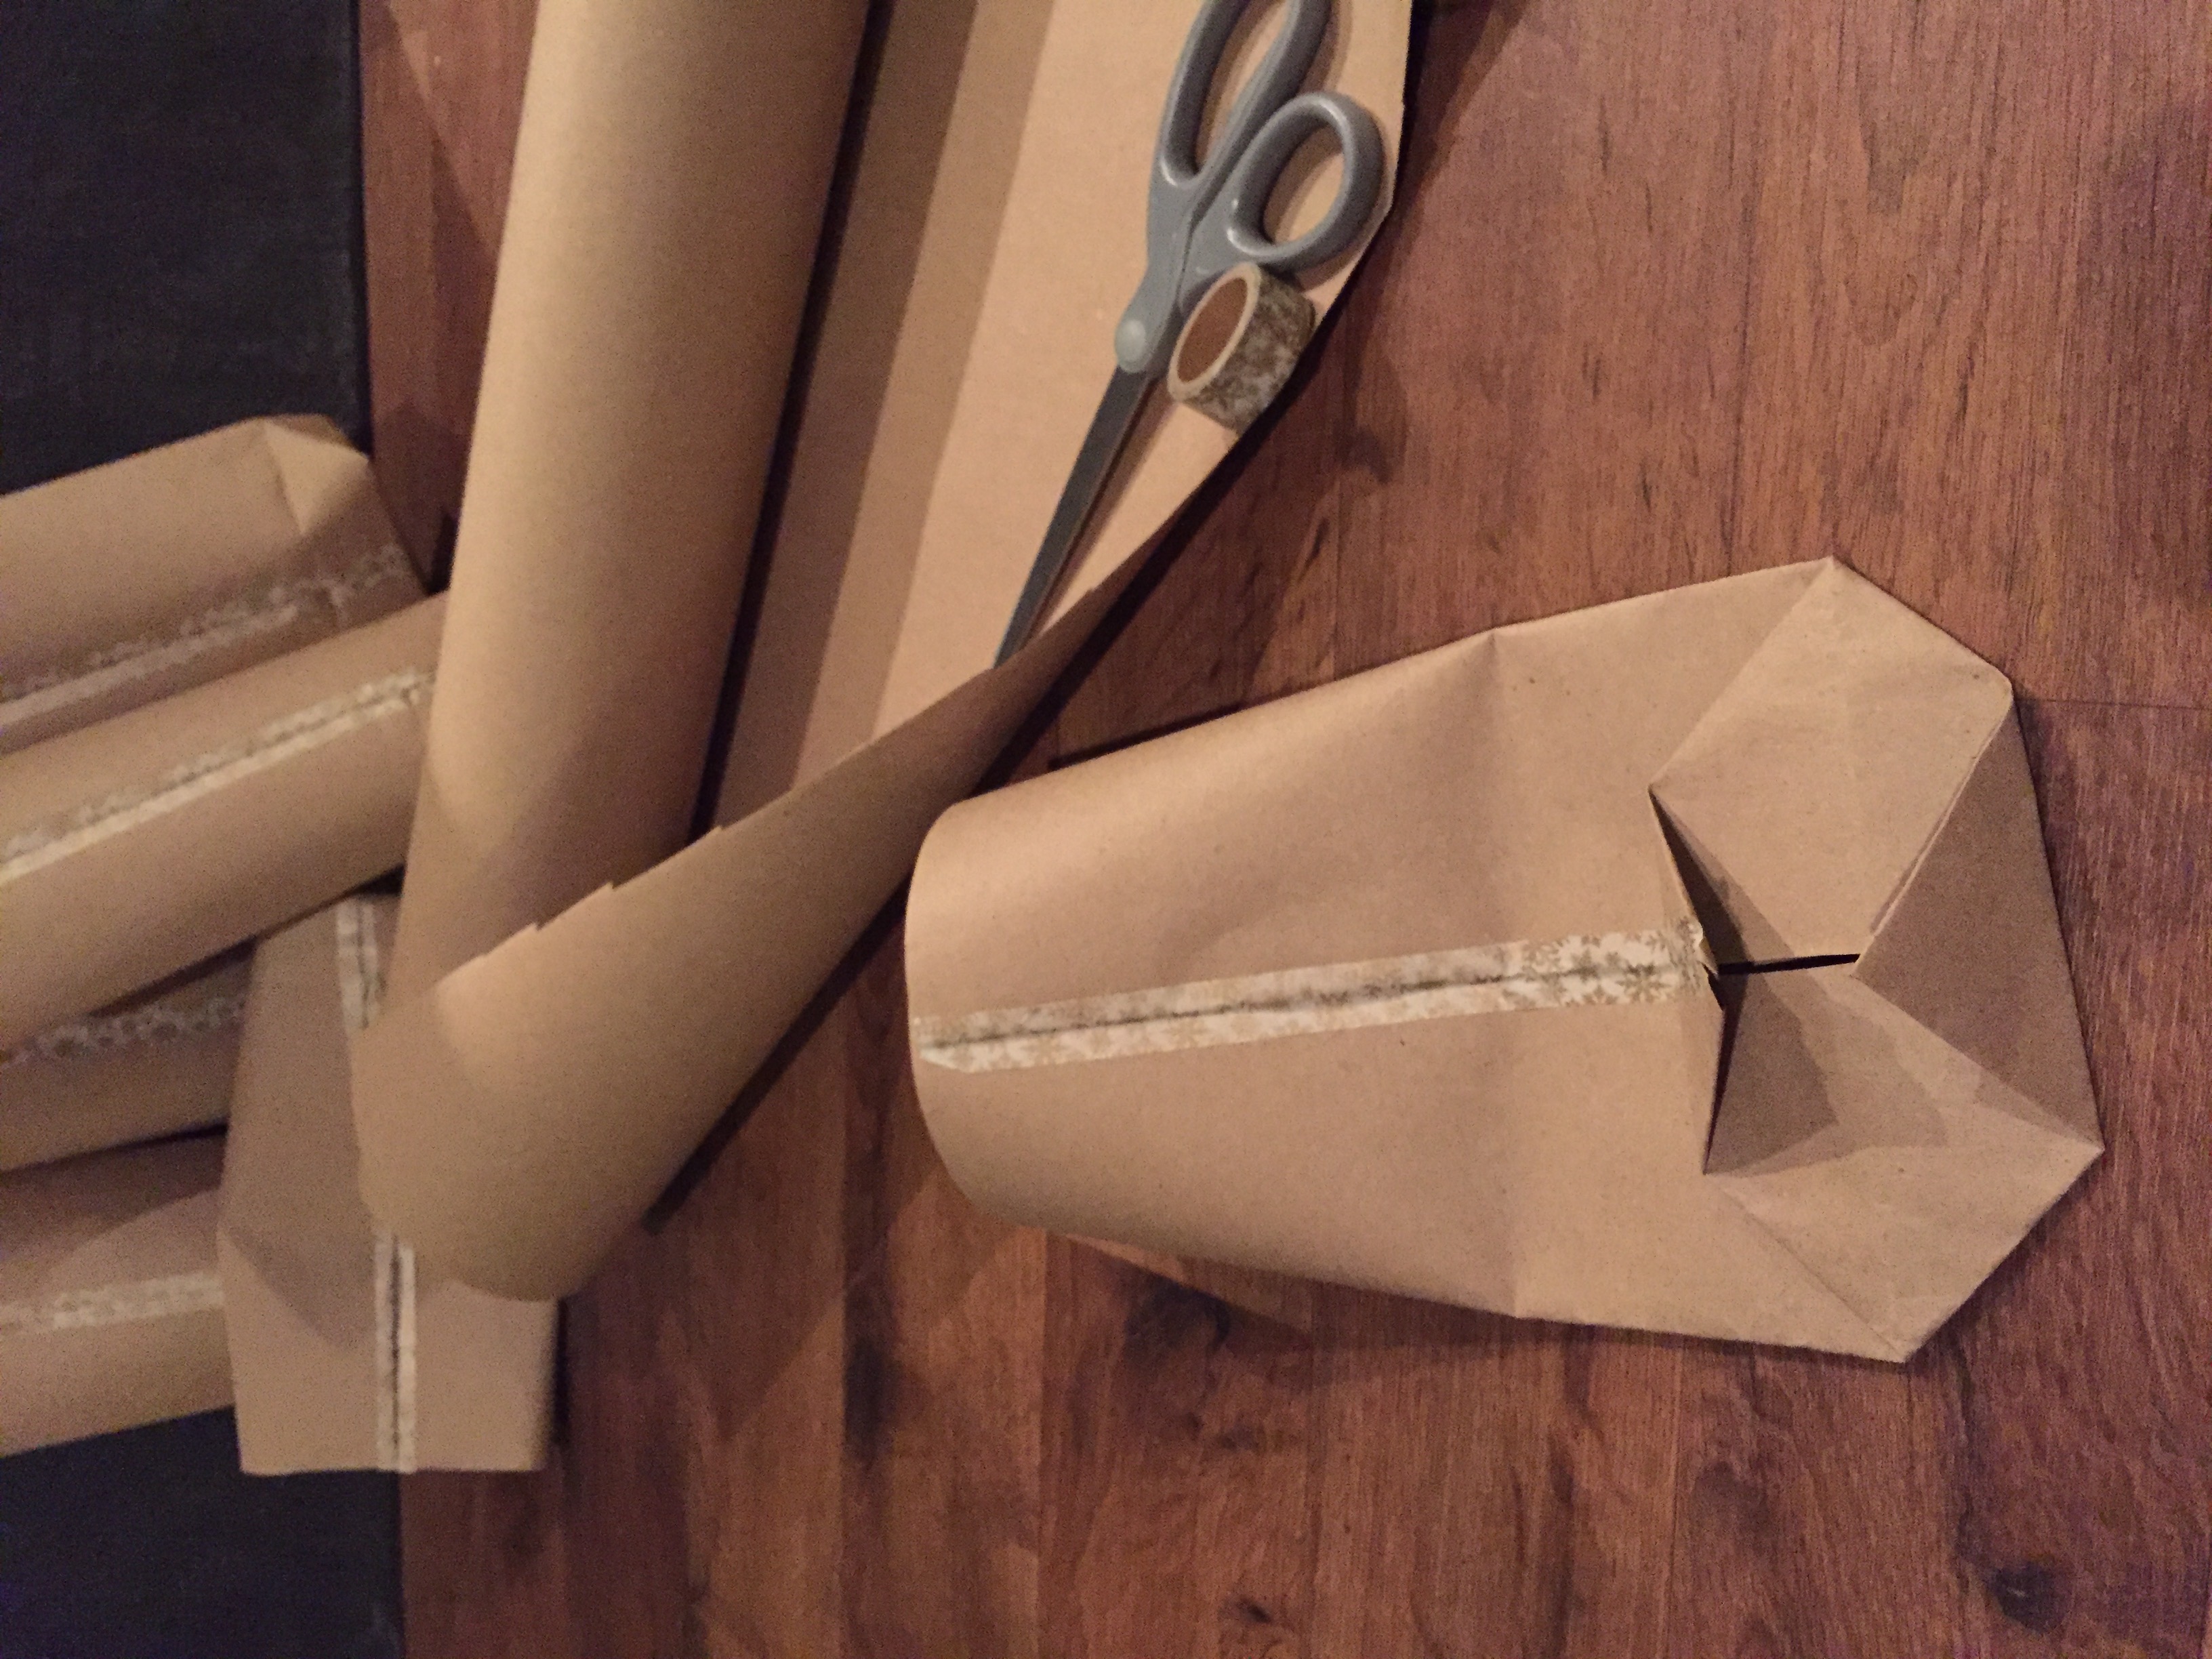
Fold the point at each end of the seam to meet (and slightly overlap) in the middle of the diamond, creating a new six-sided shape.
STEP 7:
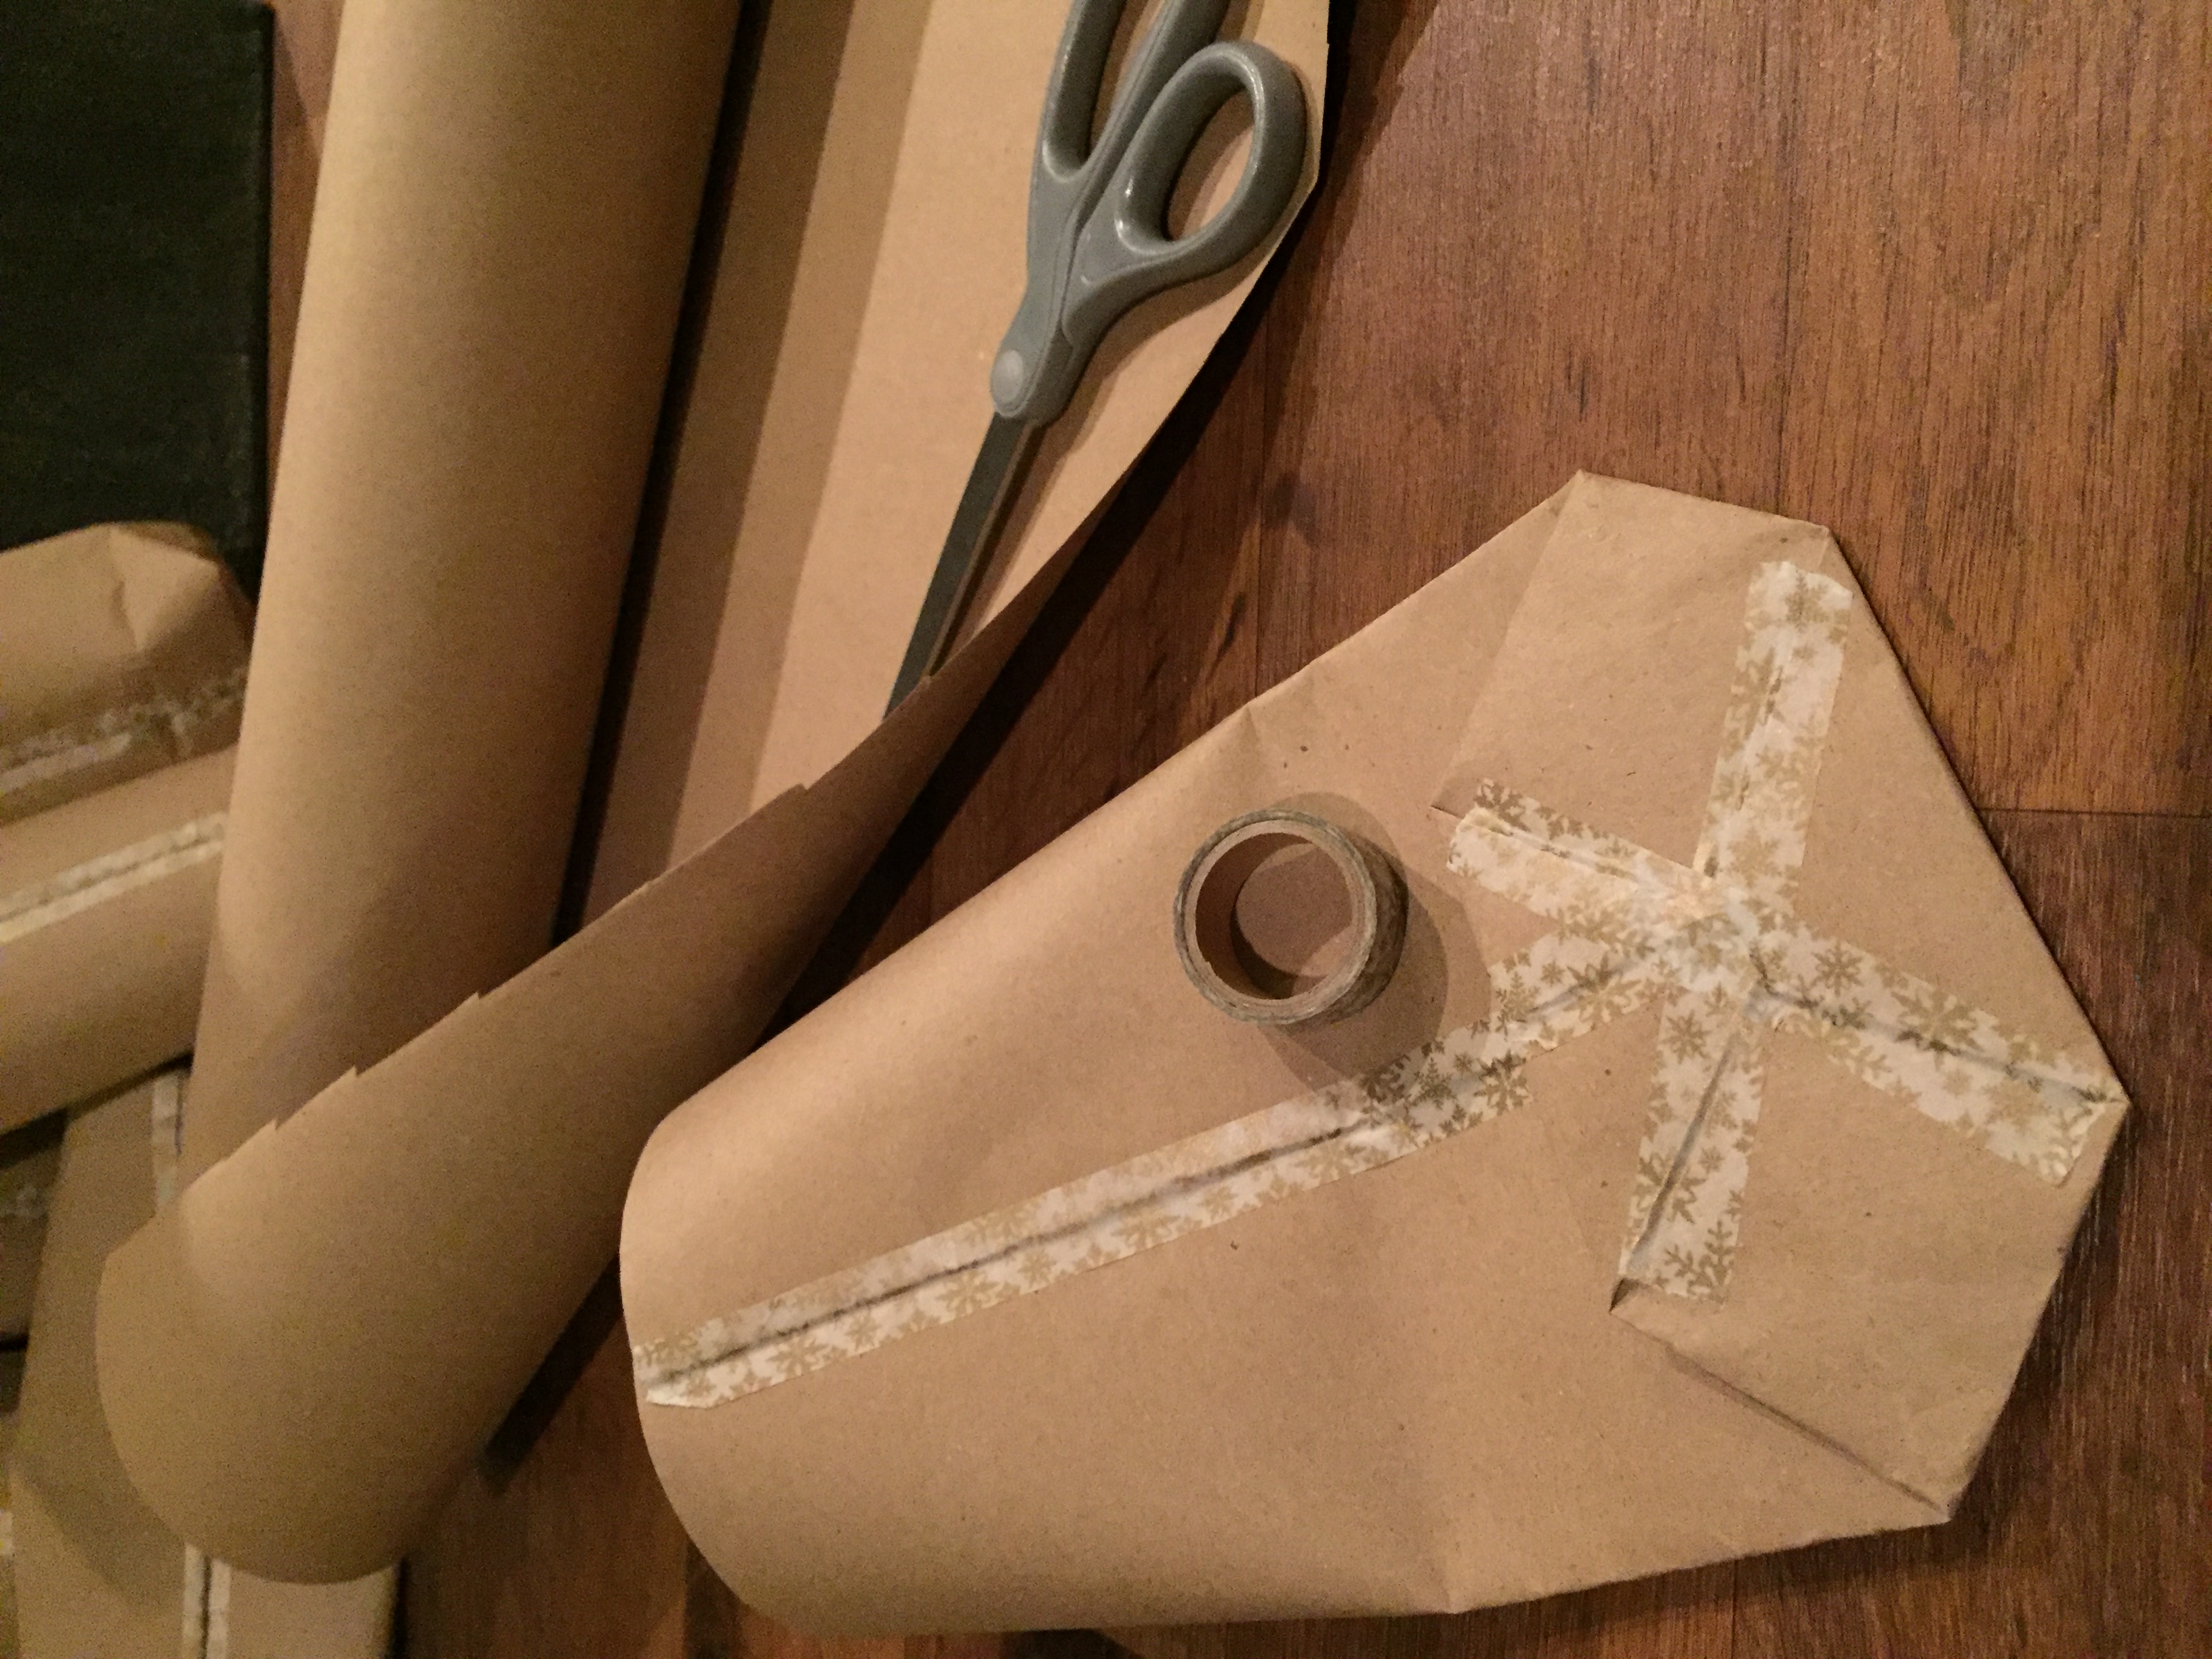
Apply tape to all of the seams on the base of your gift bag. I like to creat an “X” shape for a bit more stability.
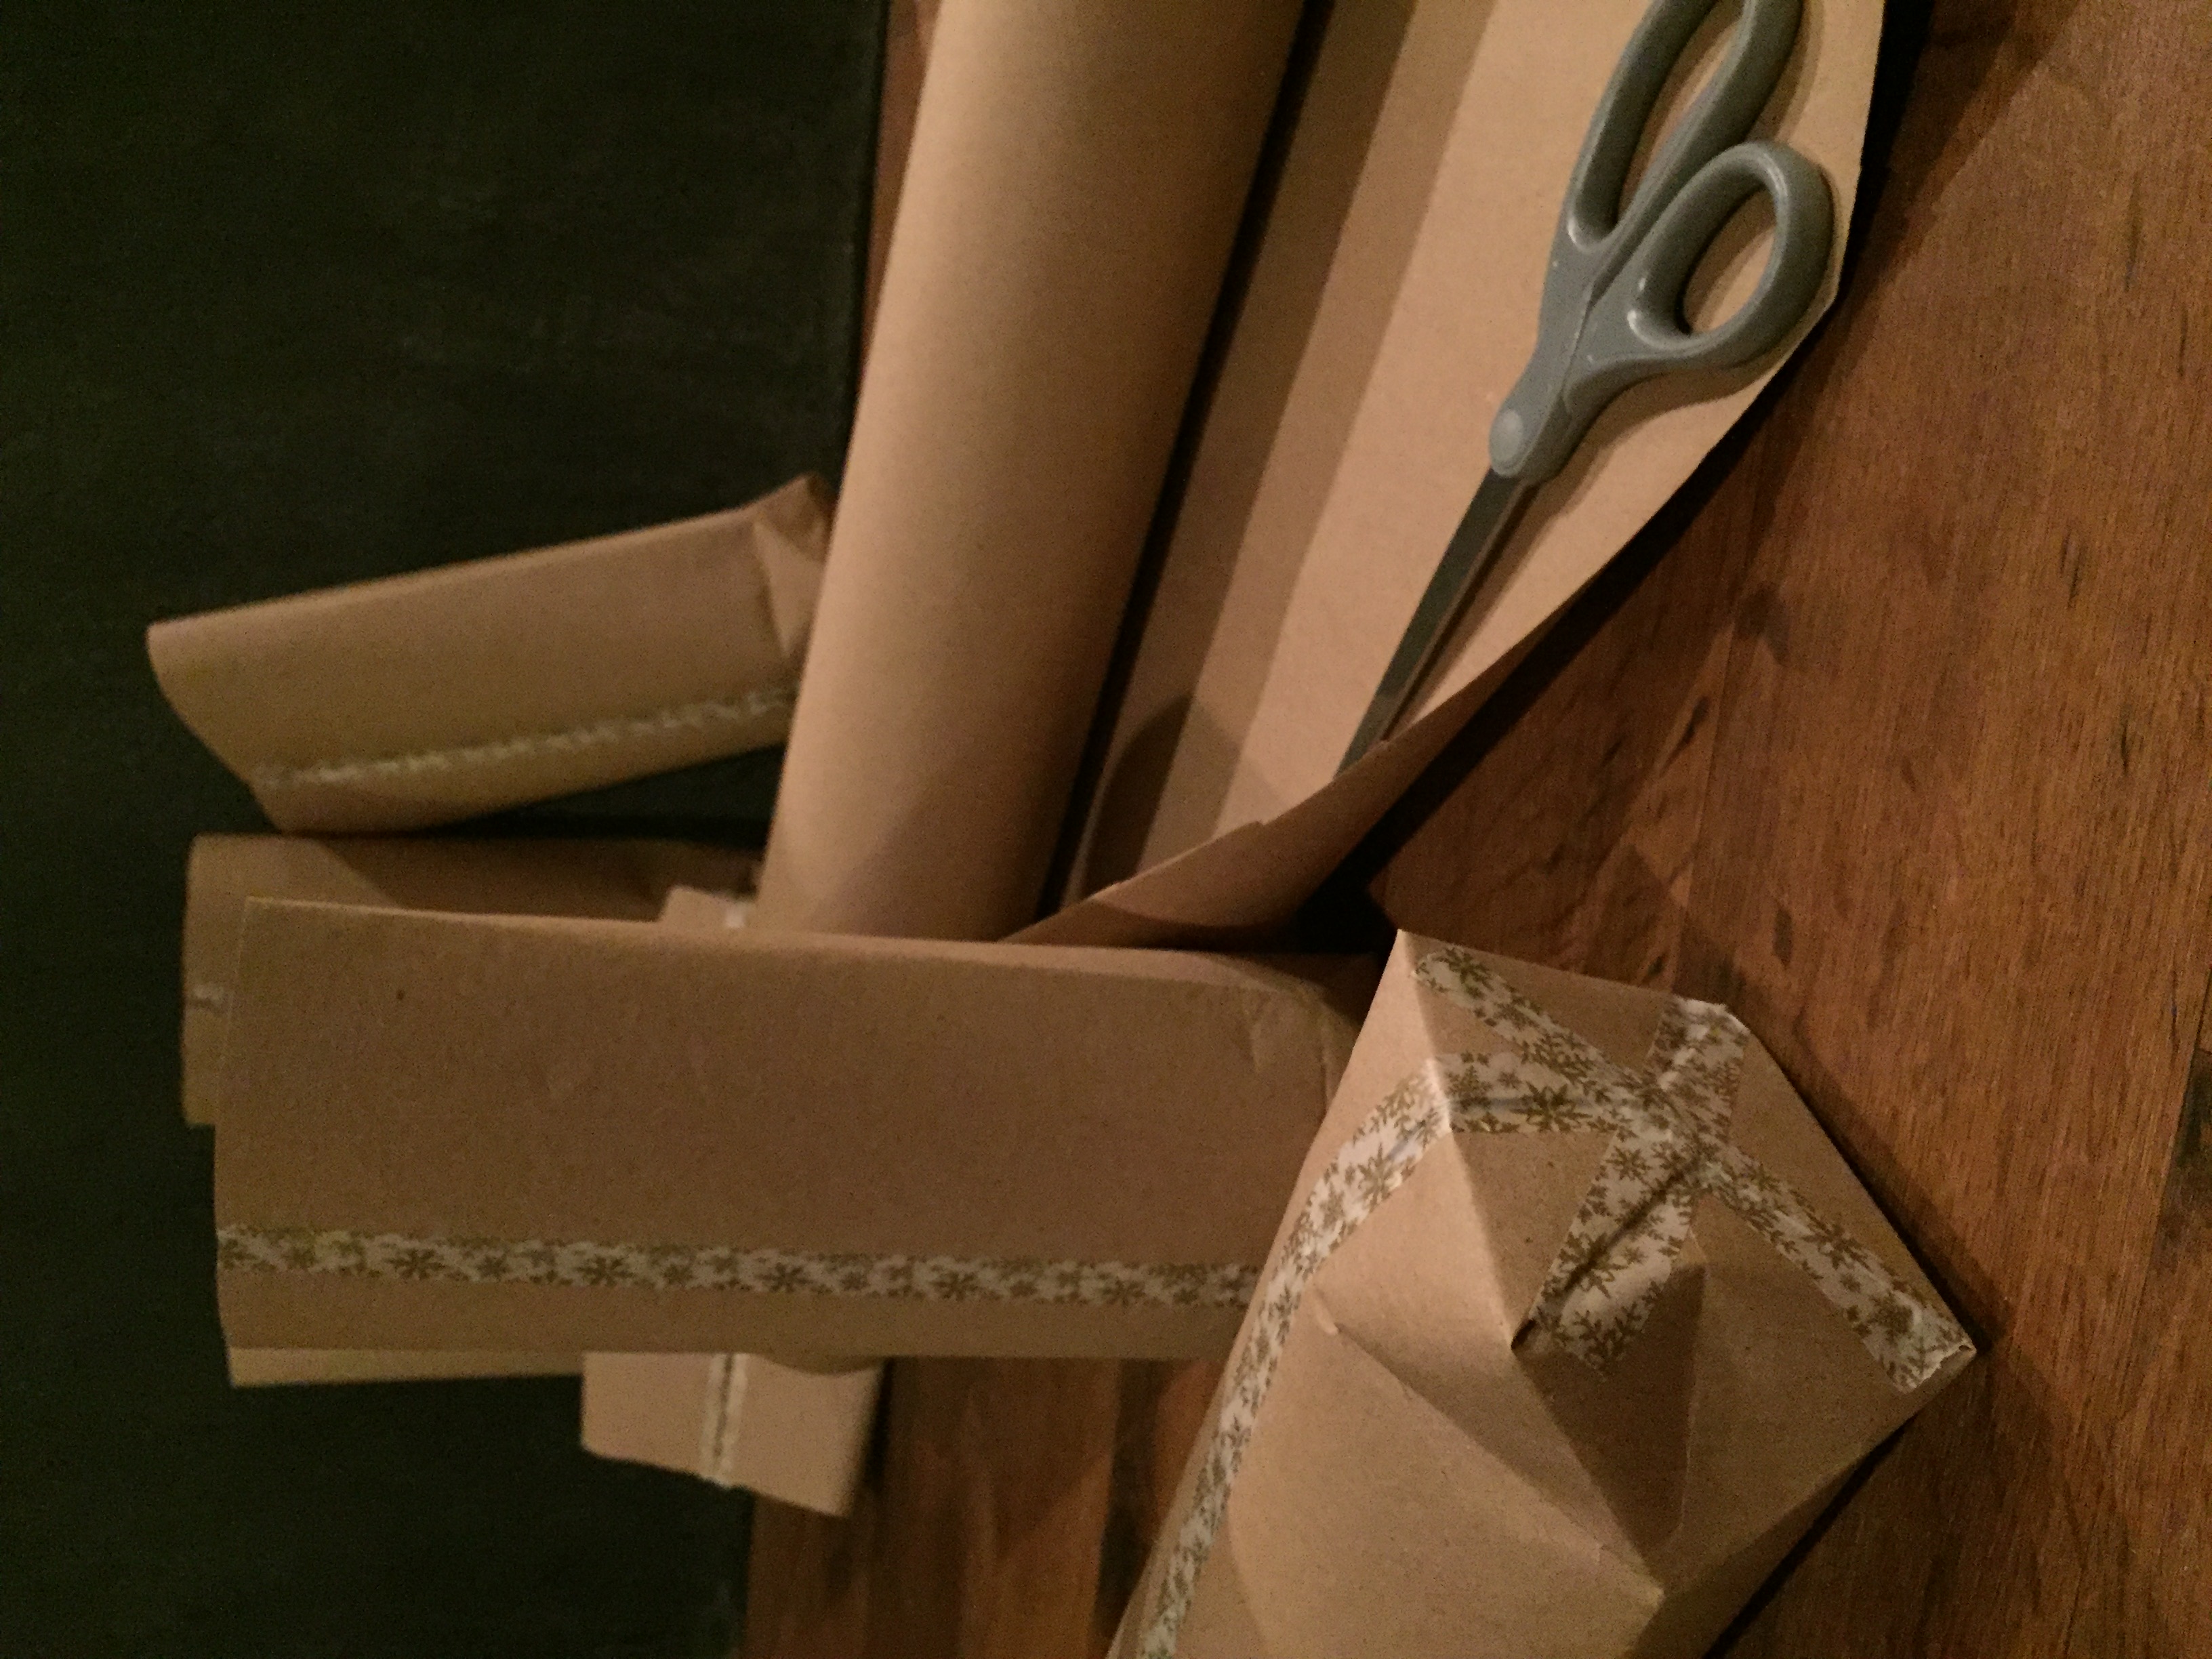
STEP 8:
Use your hand to reach inside the other, still open end to unfold your completed bag – – ready to insert your gift!
STEP 9:
Complete your packaging by determining appropriate casing (I used parchment paper to help slide my cookies in the bag), then fold the top edge over. I have stapled that top fold or I will use a single hole punch to create holes to tie it closed. Add twine, string, or ribbon and a tag as desired!
If youʻd like to see these steps in action – I have a short video reel on Instagram.
And that is all! Once you make your first one – – this project will be something you can do as easily as wrapping a basic box. Iʻve used the same method to create simple plant pot covers (also for a gift!) and it works for LARGE items as well as small cookies.
I canʻt wait to hear from you if you try this method, or if you have your own DIY Gift Bag method!
Now – I need to go find this cookie recipe…
xo.
Danielle